
You scroll through Instagram and see another celebrity with perfect balayage or those glossy copper tones that somehow look effortless. Salon appointments cost hundreds of pounds, and maintaining that A-list colour means monthly visits that drain your budget. The frustration of wanting red carpet hair without the celebrity price tag is real.
Professional techniques are no longer locked behind salon doors. Celebrity colourists have shared their secrets, and quality at-home products now deliver results that rival expensive treatments. You can achieve those enviable shades with the right approach, from Jennifer Aniston’s sun-kissed blonde to Ariana Grande’s rich espresso brown.
This guide walks you through expert methods that professionals use every day. You’ll learn how to get celebrity hair colour at home by matching shades to your skin tone, preparing your hair like a pro, and applying colour with precision techniques. We cover everything from selecting the perfect shade to maintaining that freshly coloured vibrancy between applications.
Prerequisites for a red carpet finish
Your hair needs proper preparation before you attempt any celebrity-inspired colour. Professional colourists never work on unprepared hair, and you shouldn’t either. Check that your hair is in good condition without significant damage, as compromised strands won’t hold colour properly and can lead to patchy results that look nothing like the red carpet finish you’re after.
Essential tools and materials
You need specific equipment to achieve professional results when learning how to get celebrity hair colour at home. Rushing to start without the right tools creates uneven application and messy outcomes that waste product and time.
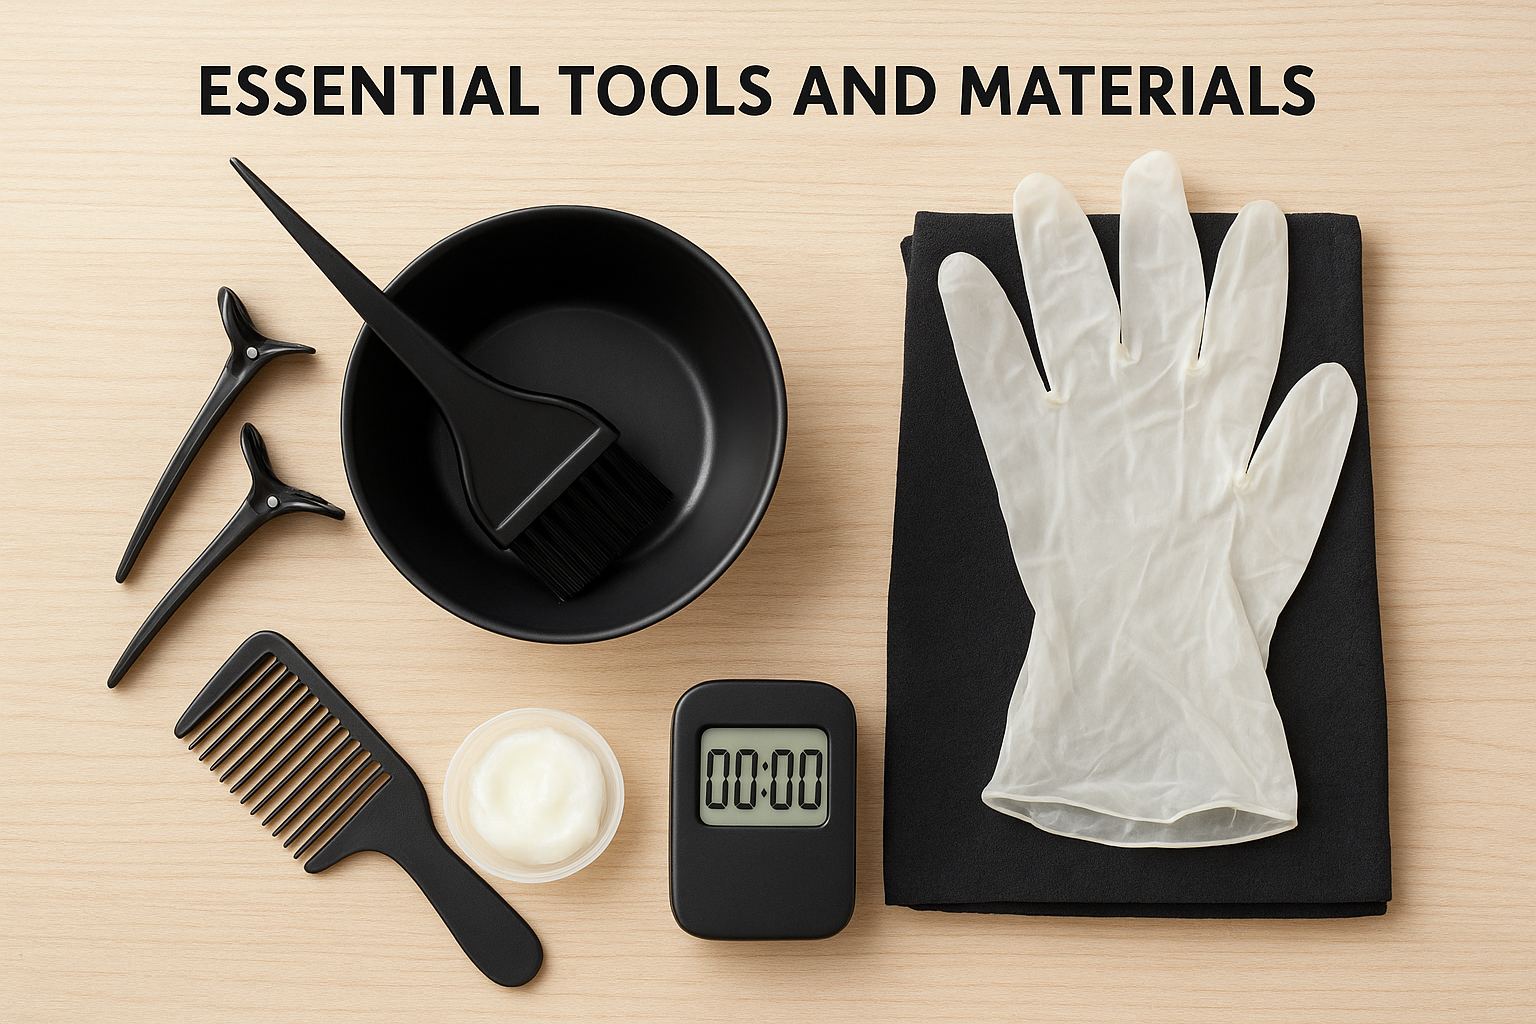
Gather these items before you begin:
- Application brush and mixing bowl (non-metallic)
- Sectioning clips (at least 4-6 professional quality)
- Colour-safe gloves and protective cape or old towel
- Timer for accurate processing
- Wide-tooth comb for even distribution
- Petroleum jelly to protect your hairline and ears
- Clarifying shampoo for pre-colour cleansing
Hair condition assessment
Damaged hair absorbs colour unevenly and produces unpredictable results. Test a small strand first by pulling gently to check elasticity and strength. Your hair should stretch slightly then return to its original length without breaking.
Wait at least two weeks after any chemical treatments like perms or relaxers before colouring. Overlapping processes can cause severe damage and colour that doesn’t match your celebrity inspiration. If your hair feels brittle or shows split ends more than halfway up the shaft, focus on deep conditioning treatments for three to four weeks before attempting colour.
Healthy hair is the foundation of any successful colour transformation, celebrity-inspired or otherwise.
Step 1. Match the shade to your skin tone
Celebrity hairstylists always assess skin tone before selecting any shade. Your natural colouring determines which celebrity looks will enhance your features versus wash you out completely. Jennifer Lopez’s honey blonde complements her warm undertones, while the same shade might look brassy on someone with cool pink undertones.
Determine your undertone
Check the veins on your wrist in natural light. Blue or purple veins indicate cool undertones, while green veins signal warm undertones. If you can’t distinguish the difference, you likely have neutral undertones that work with most shades when you learn how to get celebrity hair colour at home.
Your undertone guides your celebrity inspiration:
- Cool: Ash blonde (Margot Robbie), platinum, blue-black
- Warm: Golden blonde (Blake Lively), copper, auburn
- Neutral: Most shades work, focus on depth
Select complementary colours
Match your chosen celebrity shade to your undertone for natural-looking results. Warm skin needs golden, red, or copper-based colours that enhance your natural glow. Cool skin requires ashy, beige, or violet-based shades that prevent unflattering orange tones.
Test your choice by holding fabric in similar colours near your face. The right shade brightens skin and creates an even appearance, while wrong choices produce dullness.
The difference between amateur and professional results often comes down to undertone matching, not colour quality.
Step 2. Prepare and section for precision
Professional sectioning separates amateur results from celebrity quality when you learn how to get celebrity hair colour at home. Your application pattern determines whether colour distributes evenly or creates visible lines and patches that ruin the final look. Celebrity colourists spend several minutes on this step because precise sections guarantee consistent saturation from roots to ends.
Clean and dry properly
Wash your hair with clarifying shampoo 24 hours before colouring to remove product buildup, oils, and minerals that block colour absorption. Skip conditioner during this wash, as it creates a barrier that prevents colour molecules from penetrating the hair shaft. Your hair should be completely dry before you apply any colour product, as dampness dilutes the formula and produces lighter, uneven results.
Create professional sections
Divide your hair into four equal quadrants by parting down the middle from forehead to nape, then ear to ear across the crown. Secure each section with non-slip clips placed at least two inches from the roots to keep working areas accessible.
Follow this pattern for thorough coverage:
- Top left quadrant: Start at crown, work forward
- Top right quadrant: Mirror the left pattern
- Bottom sections: Begin at nape, move upward
- Subsections: Create half-inch partings within each quadrant
Sections thicker than half an inch prevent colour from saturating completely, leaving you with patchy results instead of celebrity shine.
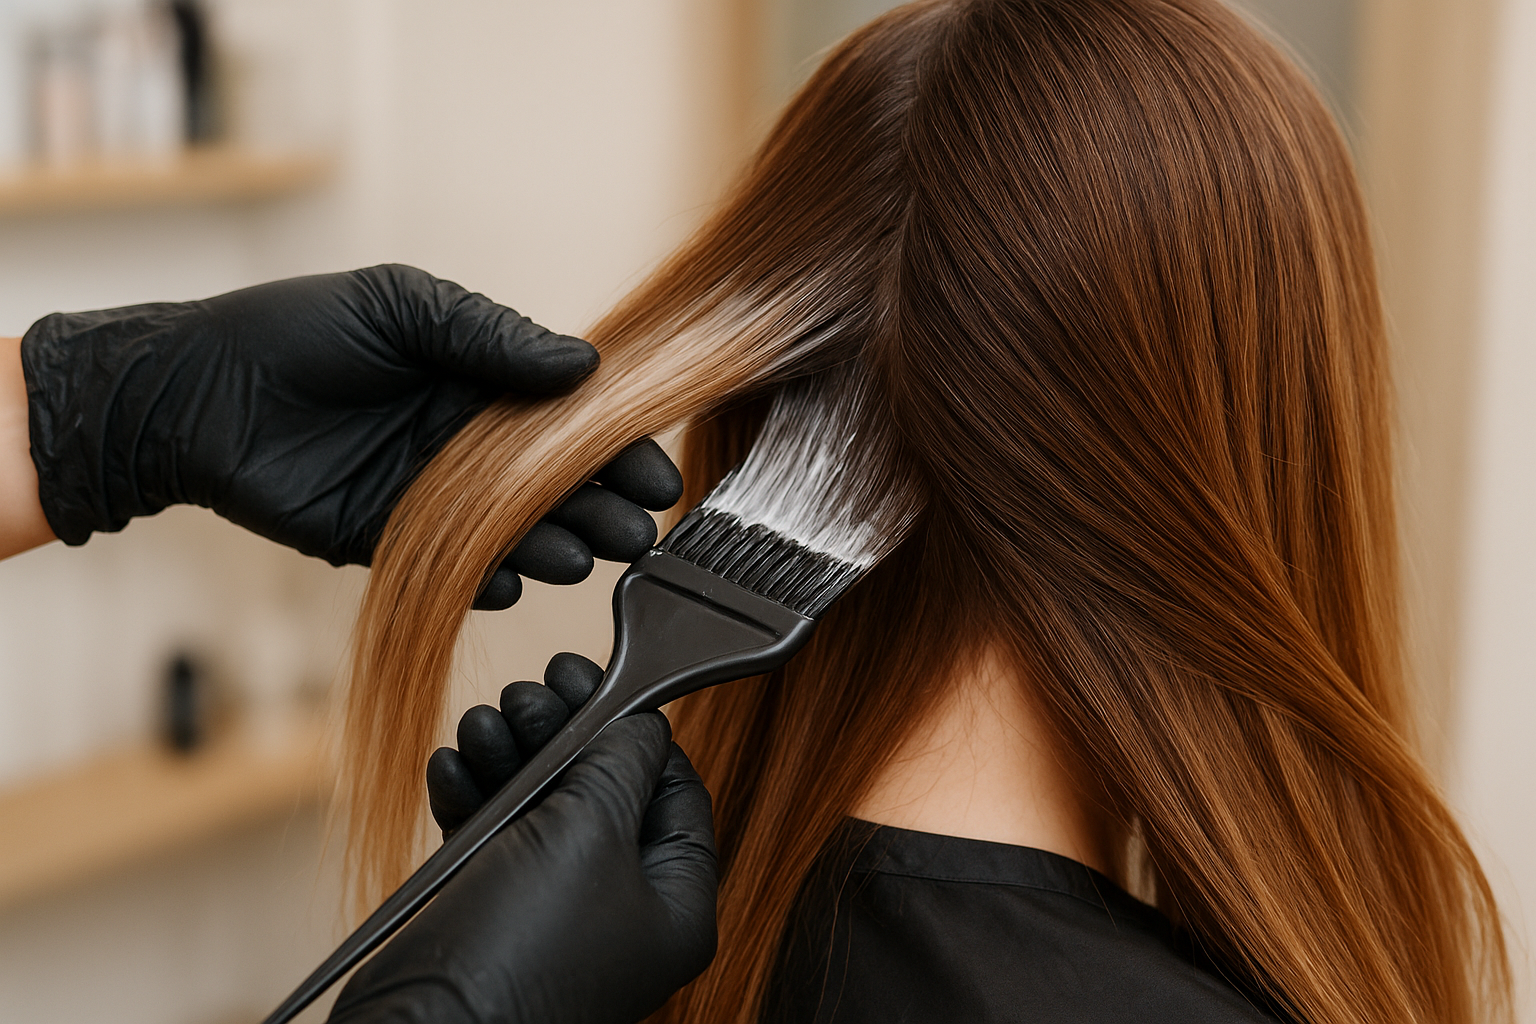
Step 3. Apply using professional techniques
Application method determines whether you achieve celebrity results or amateur streaks when you learn how to get celebrity hair colour at home. Celebrity colourists work in thin, systematic layers that ensure every strand receives equal saturation. Your technique matters more than the product itself, as uneven application creates visible banding and colour variation that no amount of product quality can fix.
Start at the correct point
Begin application at the mid-lengths rather than roots, working your chosen colour through to the ends first. Heat from your scalp processes roots faster than the rest of your hair, so applying there first creates darker roots that don’t match your celebrity inspiration. Leave roots untouched for the first 20-25 minutes of processing time.
Apply colour with these steps:
- Take half-inch subsections within your prepared quadrants
- Place colour underneath the section, then smooth over the top
- Work product through with your fingers for complete saturation
- Apply to roots only during the final 10-15 minutes
Blend for natural transitions
Feather the colour where different shades meet by using diagonal rather than horizontal application. Celebrity balayage and ombre looks require this blending technique to prevent harsh lines that scream amateur work. Sweep the brush in upward motions through transition zones, varying your pressure to create soft gradients.
Professional results come from methodical application, not rushed coverage that leaves gaps and streaks.
Step 4. Maintain vibrancy with expert care
Celebrity colour fades without proper maintenance, turning your red carpet shade into dull, brassy tones within weeks. Professional colourists protect their work with specific aftercare routines that extend vibrancy and prevent premature fading. Your maintenance routine makes the difference between colour that lasts six weeks versus colour that needs refreshing in three.
Protect colour with targeted products
Switch to sulphate-free shampoo immediately after colouring, as sulphates strip colour molecules from your hair shaft with every wash. Colour-depositing conditioners in matching tones refresh your shade between applications without the commitment of full colour treatments. Apply these weekly to maintain depth and prevent unwanted tones from developing.
Limit washing to two or three times per week maximum. Hot water opens your hair cuticle and releases colour molecules, so rinse with cool water during the final rinse to seal the cuticle and lock in pigment.
Schedule strategic touch-ups
Plan your root touch-up for four to six weeks after initial application, depending on how quickly your hair grows. Permanent colour requires more frequent maintenance at roots, while semi-permanent options need full reapplication every six to eight weeks to maintain intensity when learning how to get celebrity hair colour at home.
Consistent maintenance prevents drastic colour correction sessions that damage hair and waste money on emergency fixes.

Create your own iconic look
You’ve learned professional techniques that celebrity colourists use to create red carpet hair at home. The step-by-step process from matching your undertone through maintenance routines gives you everything needed to achieve those enviable shades without salon prices. Your success depends on thorough preparation, precision application, and consistent aftercare that protects your colour investment.
Start with shades that complement your natural colouring rather than fighting against it. Realistic expectations matter when learning how to get celebrity hair colour at home, as your starting point determines achievable results. Dark hair requires lightening first for pastel or bright shades, while lighter bases offer more immediate colour options without pre-treatment.
Browse our Creative Colour System to find your perfect celebrity-inspired shade. Each formula includes plex technology that protects hair during colouring, delivering salon-quality results with vegan, cruelty-free ingredients. Transform your look with confidence and care.