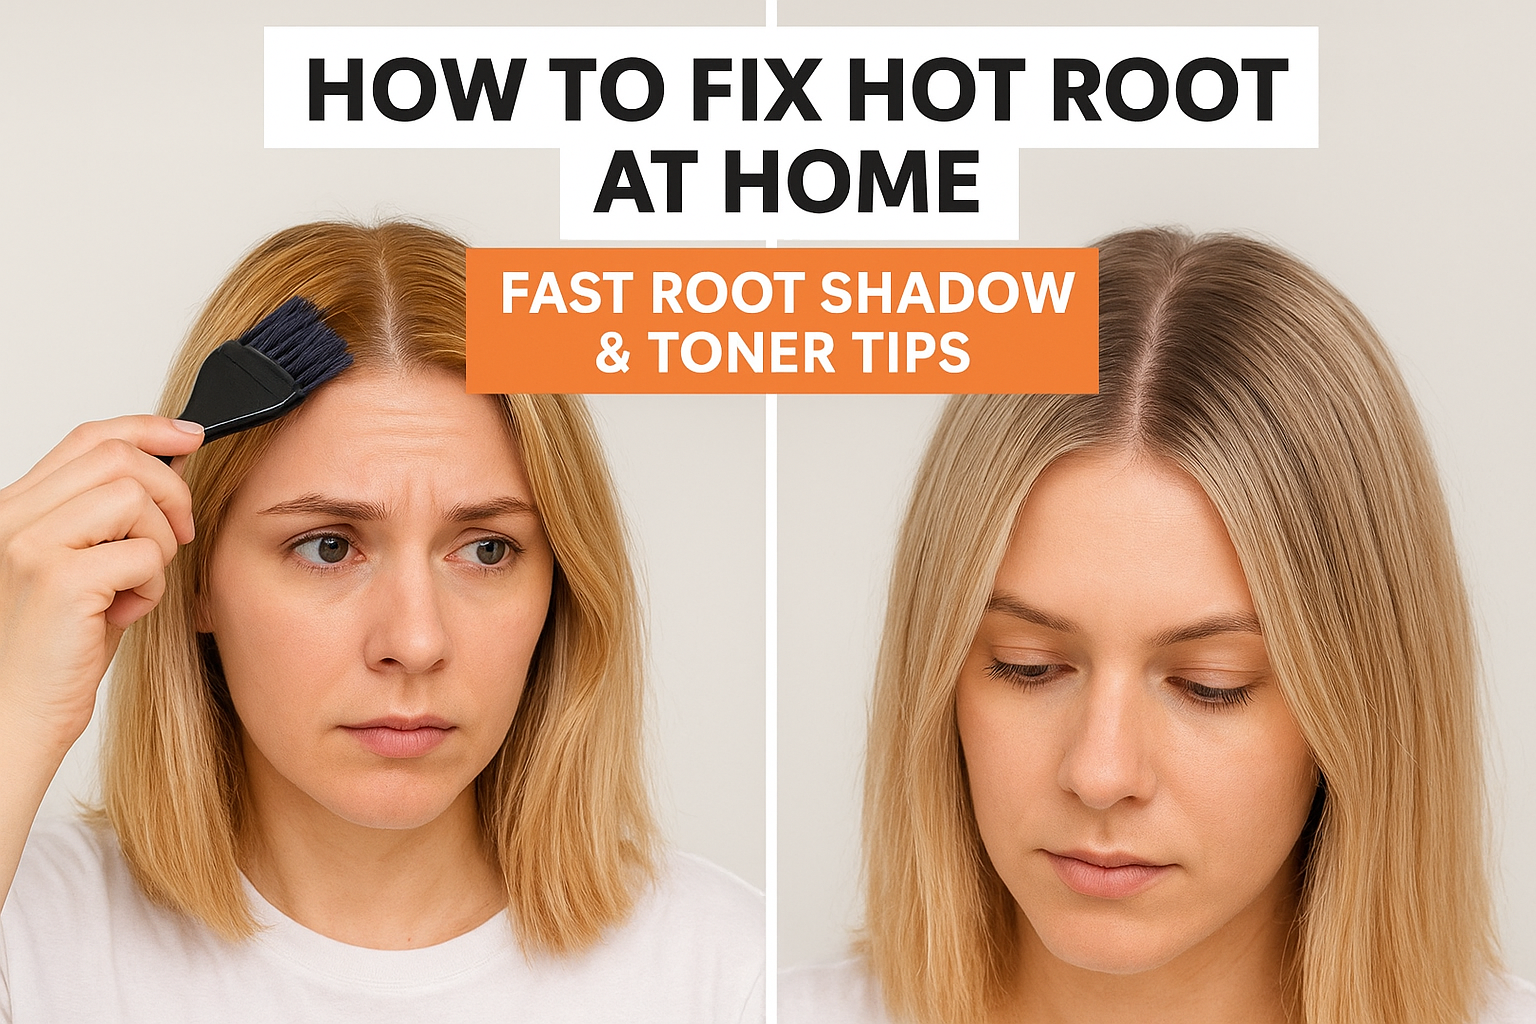
How To Fix Hot Roots At Home: Fast Root Shadow & Toner Tips
You've just finished colouring your hair, checked the mirror, and there it is, a glowing band of orange or brassy warmth sitting right at your roots while the rest of your colour looks fine. Hot roots are one of the most common home hair colouring frustrations, and if you're searching for how to fix hot roots at home, you're definitely not alone. The good news? This is entirely fixable without booking an emergency salon appointment.
Hot roots happen when the hair closest to your scalp processes faster than your mid-lengths and ends, thanks to the natural heat from your head. Whether you've gone a shade too light or your timing was slightly off, the result is that uneven, overly warm tone that draws attention for all the wrong reasons. It's a mistake most home colourists make at least once, and it's nothing to panic about.
In this guide, we'll walk you through practical toner techniques, root shadow methods, and product choices that bring your colour back into balance. At Smart Beauty, our PPD-free, plex-enriched hair colour and toner range is designed to make these kinds of corrections straightforward, safe, and gentle on your hair. Let's get those roots sorted.
What hot roots are and why they happen
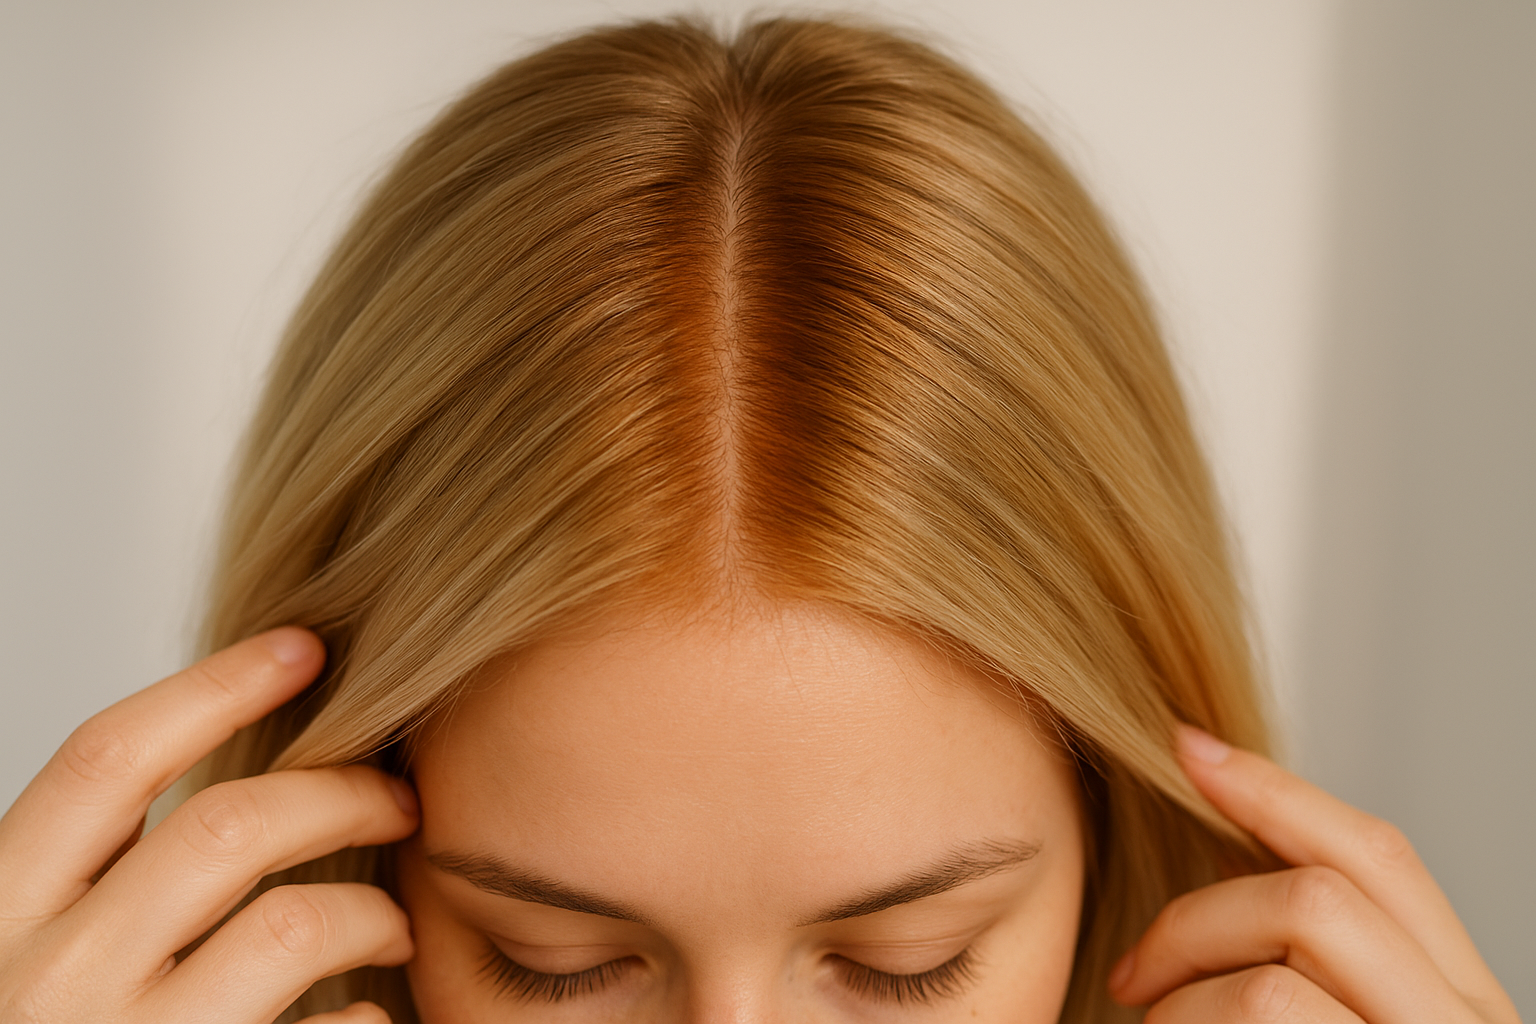
Hot roots are what you get when the hair closest to your scalp develops a noticeably warmer or lighter tone than the rest of your colour. You'll usually spot it as an orange, red, or brassy ring sitting right where your fresh application meets the mid-lengths or previously coloured hair. It's especially common when going blonde, lifting dark hair, or applying a lighter shade all over your head, and it can make an otherwise good colour result look uneven and unfinished.
The science behind scalp heat and hair colour
Your scalp naturally radiates body heat, and that warmth speeds up how quickly colour and bleach develop close to your roots. When you apply colour from root to tip in one go, the roots are exposed to more heat than the mid-lengths or ends, which means they lift or develop faster. The result is that the roots reach a warmer stage of the colour process while the rest of the hair still has further to go. This temperature difference of just a few degrees is enough to create a visible band of brassiness sitting right at the scalp.
The roots are always the warmest part of your hair during processing, which is why colour behaves differently there compared to the rest of the shaft.
Why timing and starting shade matter
The two biggest factors in how visible hot roots become are your natural starting shade and how long you leave the colour on. If your hair is naturally dark and you're lifting it significantly, the scalp area will move through the colour stages faster, often stopping at orange or gold before the rest catches up. Certain habits make the problem more likely to occur:
- Applying a shade two or more levels lighter than your base colour in a single step
- Leaving colour on your roots for the same amount of time as your mid-lengths and ends
- Using a formula without toning agents that neutralise warm pigments as the colour develops
Understanding these causes is the first step in knowing how to fix hot roots at home and, just as importantly, how to prevent them from happening again.
Step 1. Diagnose your hot roots and choose a fix
Before you reach for a toner or a darker shade, take a proper look at what you're actually dealing with. The severity of your hot roots and the width of the warm band will directly determine which fix you need. Rushing into a correction without a clear diagnosis is how a manageable problem turns into a bigger one.
Identify how warm and how wide
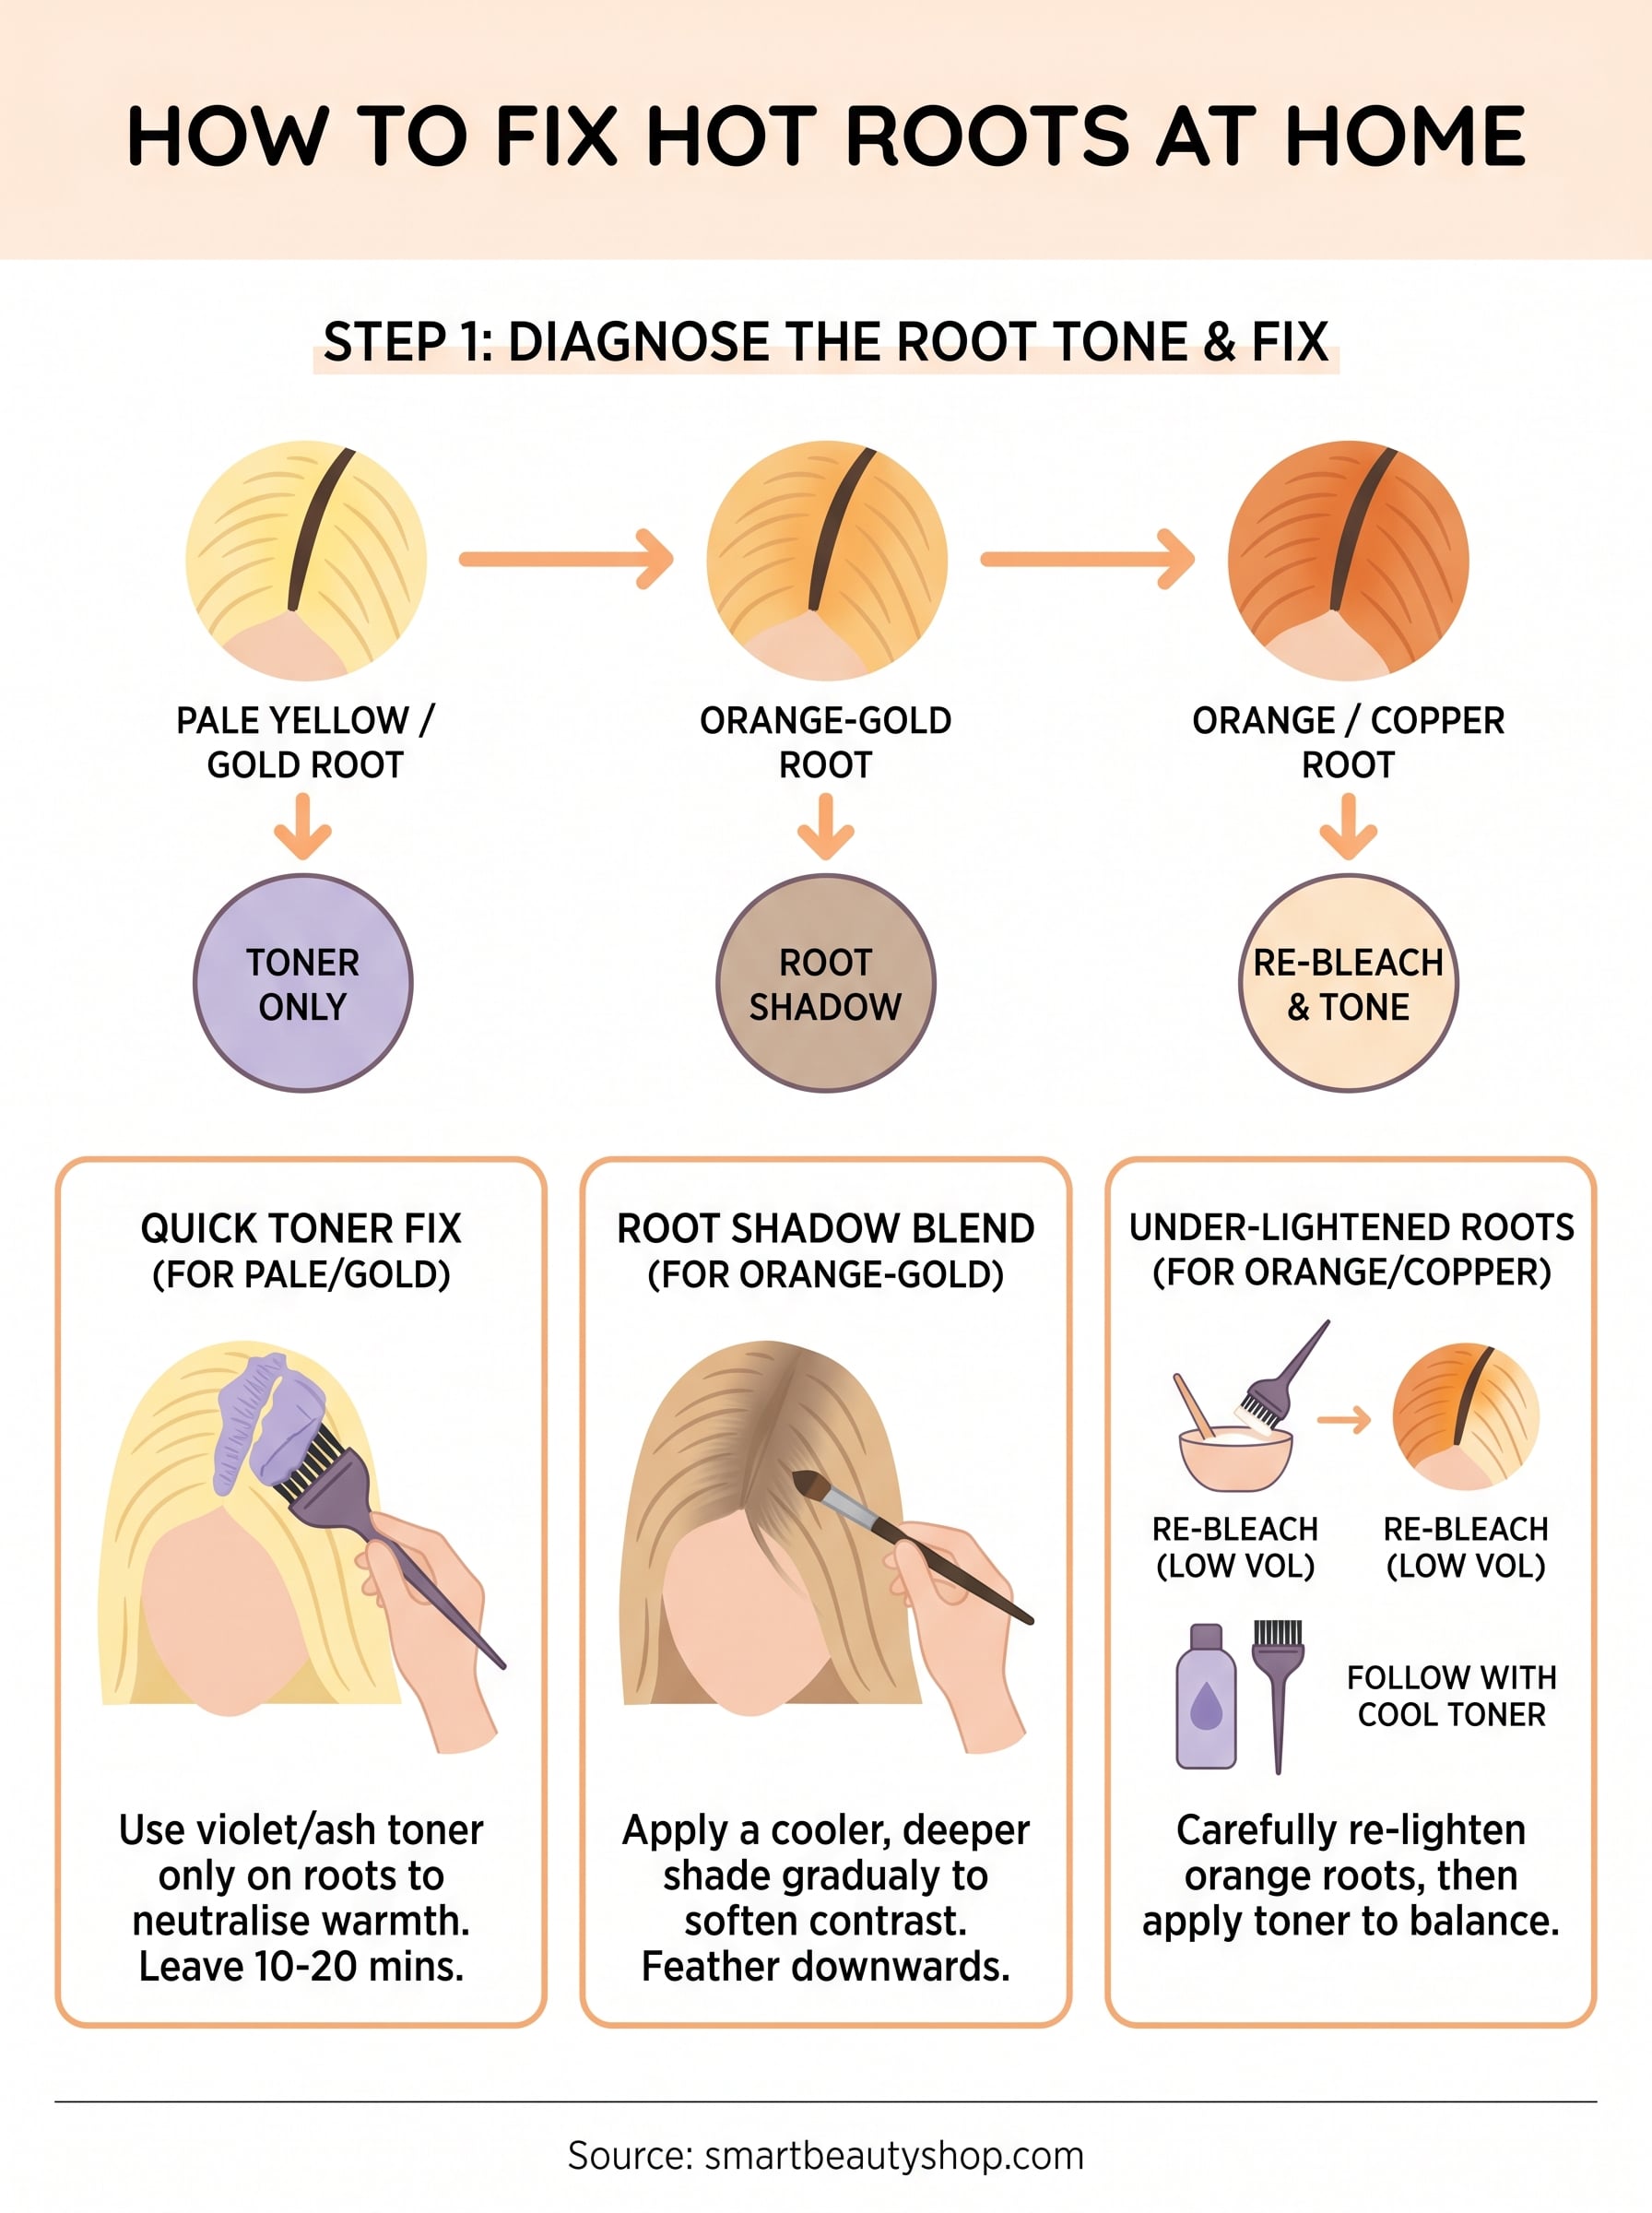
Hold your hair in natural light and look closely at the root area. The colour you see at your scalp tells you exactly how far the lift went and what tonal correction is required. Use the guide below to identify your situation:
| Root tone | What it means | Likely fix needed |
|---|---|---|
| Pale yellow or gold | Good lift, minor warmth | Toner alone |
| Orange-gold | Partial lift, moderate warmth | Toner or root shadow |
| Orange or copper | Under-lightened roots | Re-bleach or deeper shadow |
| Red-orange | Significant under-lift | Step-by-step bleach correction |
Match the fix to your situation
Once you know your root tone, choosing the right correction method becomes straightforward. If your roots are pale yellow, a violet or ash toner will neutralise the warmth quickly and gently. If they sit in the orange or copper range, you'll need either a root shadow blend or an additional lightening step before toning. Knowing this upfront is the most important part of understanding how to fix hot roots at home without causing further damage.
Always assess your roots in natural daylight rather than bathroom lighting, which can distort warm tones and lead to the wrong product choice.
Step 2. Do a quick toner fix for warm roots
If your roots landed in the pale yellow or gold range, a toner is the quickest and most targeted fix you can do at home. Toners work by depositing cool or neutral pigment over the warm tones, cancelling out the brassiness without lifting or damaging the hair further. This is the gentlest correction method and works best when your roots are already reasonably well-lifted.
Choose the right toner shade
Selecting the correct toner comes down to understanding which colour sits opposite your unwanted tone on the colour wheel. Violet cancels yellow and gold, ash cancels orange-gold, and blue-based toners handle stronger orange tones best. Using the wrong shade will either do nothing or push your roots into an unwanted grey or green cast, so matching carefully matters.
| Root tone | Toner colour to use |
|---|---|
| Yellow or pale gold | Violet or purple toner |
| Gold or warm blonde | Ash blonde toner |
| Orange-gold | Blue-ash toner |
How to apply toner to just your roots
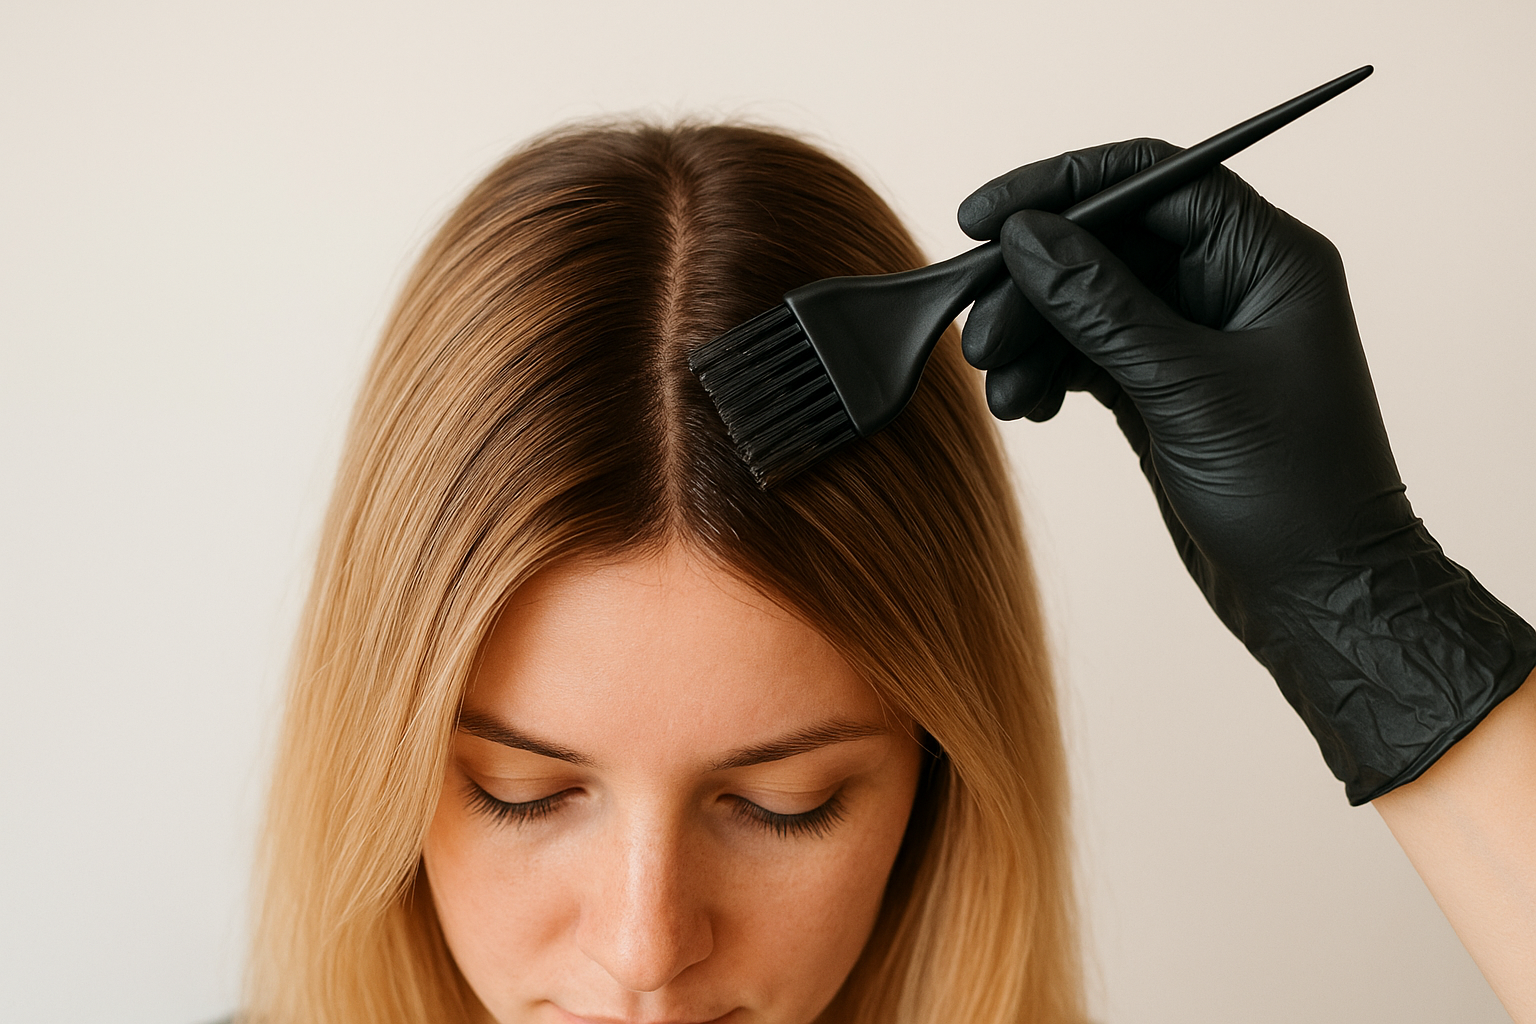
Focused application is key when you know how to fix hot roots at home using a toner. Apply the toner only to the root area, not all over, to avoid over-toning lengths that don't need correction. Follow these steps:
- Section your hair into four parts
- Apply the toner along each root section with a tinting brush
- Leave it on for 10 to 20 minutes, checking every five minutes
- Rinse thoroughly with cool water and condition immediately
Toning damp hair helps the product spread more evenly and reduces the risk of patchy results.
Step 3. Create a soft root shadow to blend
A root shadow works by applying a slightly deeper or cooler shade into the root zone, creating a gradual transition that draws the eye away from any warmth. This technique suits roots that sit in the orange-gold to copper range and need more than a toner can deliver on its own. Root shadowing also makes future grow-out look more intentional, giving you a softer, more forgiving result as your colour develops.
Pick your shadow shade
Your shadow shade should sit one to two levels darker than your current hair colour and carry a cool or neutral tone to counteract the brassiness. A cool brown or ash blonde works well in most situations. Avoid golden or warm shades entirely, as these will intensify the hot root problem rather than correct it.
How to apply a root shadow at home
Knowing how to fix hot roots at home using a root shadow is mostly about placement and blending technique. You are not applying solid colour at the roots; you are feathering the darker shade downward to soften the contrast between your scalp and mid-lengths.
Keep your application lightest right at the scalp and build density gradually through the first two to three centimetres of hair for the most natural finish.
Follow these steps for a clean result:
- Mix your chosen shade according to the pack instructions
- Apply to dry, unwashed hair at the root zone only
- Use a tinting brush to feather the colour downward in short, sweeping strokes
- Leave on for 10 to 15 minutes
- Rinse with cool water and condition thoroughly
Step 4. Fix hot roots caused by under-lightening
If your roots are sitting in the orange or red-orange range, toning or shadowing alone will not get the job done. Under-lightened roots mean the hair hasn't lifted far enough to accept a toner or cool shade effectively. Trying to tone over orange roots typically results in a murky, muddy brown rather than a clean, even colour. This is the most involved fix, but knowing how to fix hot roots at home in this situation is straightforward if you follow the right steps.
When to re-bleach your roots
You need to re-bleach only if your roots are a strong orange or deeper. Pale gold and yellow-gold roots do not need further lifting, and taking them through another bleach application risks damage without any meaningful benefit. Give your hair at least 48 hours between bleach applications to reduce stress on the hair shaft.
Never apply bleach to already-toned or previously processed ends during this step, as over-lapping onto lightened lengths causes unnecessary breakage.
How to re-bleach roots safely at home
Precise, controlled application is what separates a clean result from a damaged one. Use a lower-volume developer (20 vol maximum) to lift gradually without overworking the scalp area. Follow these steps:
- Mix bleach powder and 20 vol developer to a smooth, yoghurt-like consistency
- Apply only to the orange root zone using a tinting brush
- Monitor every 10 minutes and rinse as soon as roots reach pale yellow
- Follow immediately with a cool-toned toner to neutralise any remaining warmth
- Deep condition thoroughly after rinsing
Quick recap and what to do next
Hot roots are frustrating, but every fix in this guide is something you can do at home with the right products and a bit of patience. Pale yellow or gold roots need a toner, applied only to the root zone and left for 10 to 20 minutes. Orange-gold roots respond best to a root shadow, using a cool or neutral shade one to two levels deeper than your current colour. Roots sitting in the orange to red-orange range require a second, controlled bleach application before toning.
Knowing how to fix hot roots at home really comes down to diagnosing the tone accurately first, then matching the method to what you see. Rushing past that step is what leads to repeated corrections and unnecessary damage. Start with the gentlest option your root tone allows and work up from there. If you're ready to get the right products for a clean, lasting result, explore the Lighten & Tone System at Smart Beauty to find everything you need in one place.


